Miss Sharing

April 28, 2014

I really miss sharing with you guys. I could give  reason after reason but instead let me show you a small taste of what I have not shown you lately lol.
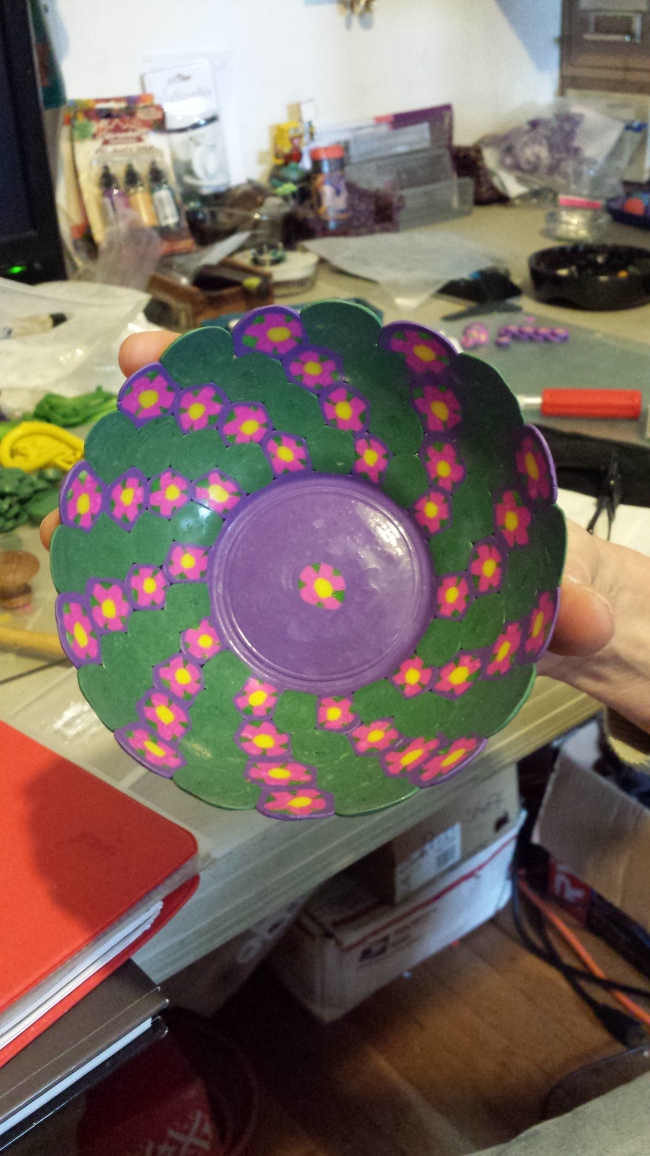
ImageWendy made a bowl! I was so proud of her the day she came over and did this. Heck I had not even made a bowl yet and she did it and it turned out great. That is also by the way her first cane ever!

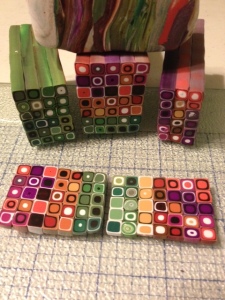
ImageI started beading which is something I said I would never ever in my life do. This is a cellini sprial that I did for the gallery show at the Lexington Arts and Crafts Society.
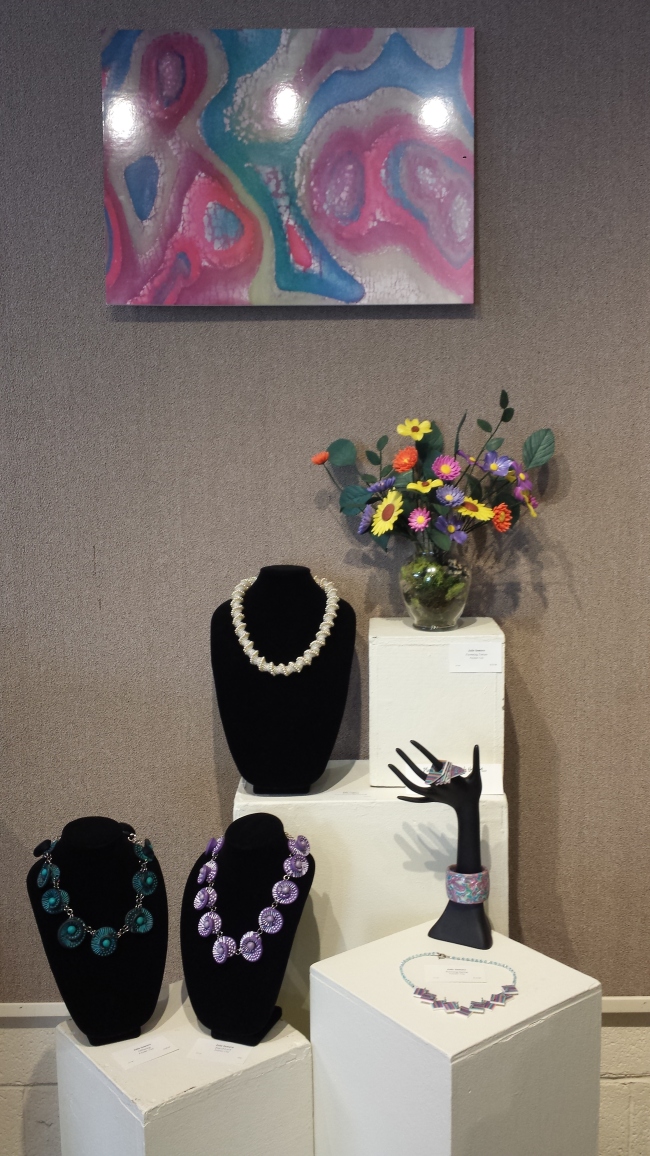
ImageYes I said it a gallery show! The theme was Spring Starts Here! Those flowers were a tutorial that I took tonz of pictures for. By the time I finally was able to make the dang flowers I was DONE! Even darling son asked “What is that like the 30th try?”. The name Flowers of Torture yes I was done.

ImageI saw prince with a very close friend from work Stephanie McCarthy. She had just had her baby and I could not believe she left Winnie to come with me and kept telling her over and over. Oh a fun night a very nice night.
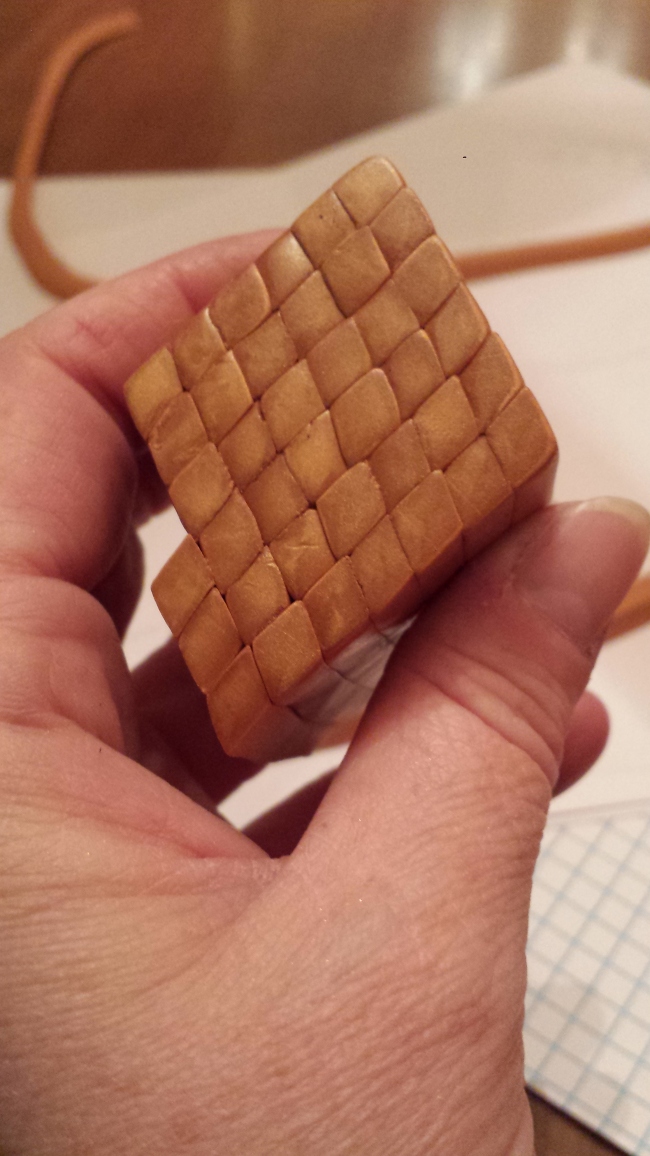
ImageAnother tutorial gone bad. This one did not work at all my first attempt at Mokume I will take pics next time and it will work.
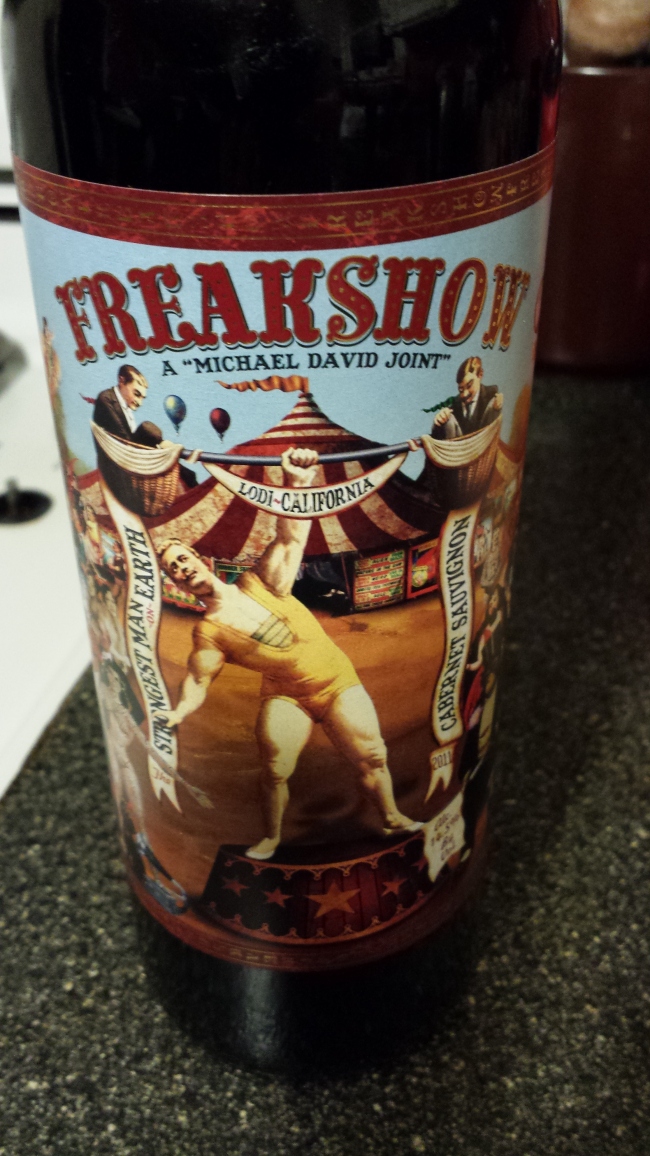
ImageThe Christmas wine I loved it so much I went and bought several more bottles. Yumm and love the name it reallly said a lot about what was going on with me personally at that time.

ImageAnother tutorial that didnt make it to prime time. Love the cane though.

ImageReally blurry lol but you get the idea.

And so do I. On my to do list is to figure out how to post from the phone for quick pics of what is or is not on my claytable. I hear those so often say they need to create more. I am so blessed to now have the time to create I need to share with you more what I am creating. Lets see if the to do list works for me and you too. If your not creating try to find out what is preventing you from doing what you love. Is it time? Motivation? Self doubt?



Epoxy Nooooooo

July 1, 2013

Well it was not a good idea to try the Epoxy. Those who saw it coming from a mile away thanks for the heads up.  Not!

image

Very frustrated now. Going to try to condition the barrel and see where that gets me.

Tumbalicious………Not

June 29, 2013

So you are supposto sing that to the tune of the Fergie song here is a link to the video on You Tube.

http://www.youtube.com/watch?v=5T0utQ-XWGY

This week I have been trying many new projects from tutorials I have gathered. All was going well until I came to the tumbling part of the whole deal.I followed the tutorial from Desire the best I could. Here is her tutorial here which is a very good one.

http://desiredcreations.com/howTo_TLTumblers.htm

I was unable to get the coat hangers fastened the way she was able to. So I tried placing a circular sheet of sand paper inside the tube hoping that would give me what I needed. When I pulled my beads out of the tumbler this is what I saw.

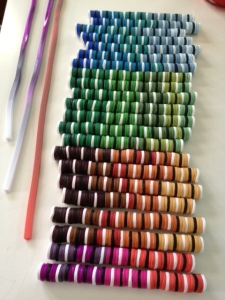
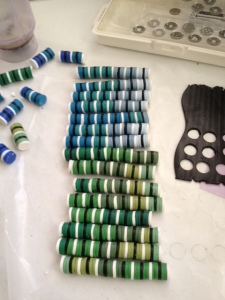
ImageCan you see the discoloration on the bead on the bottom? I am not sure what went wrong here. I used two tumblers and from what I can tell there was one of them that caused discoloration on the beads. This is very frustrating as each bead took me 25 minutes to make and now I am not sure if they are permanantly lost or can be salvaged.

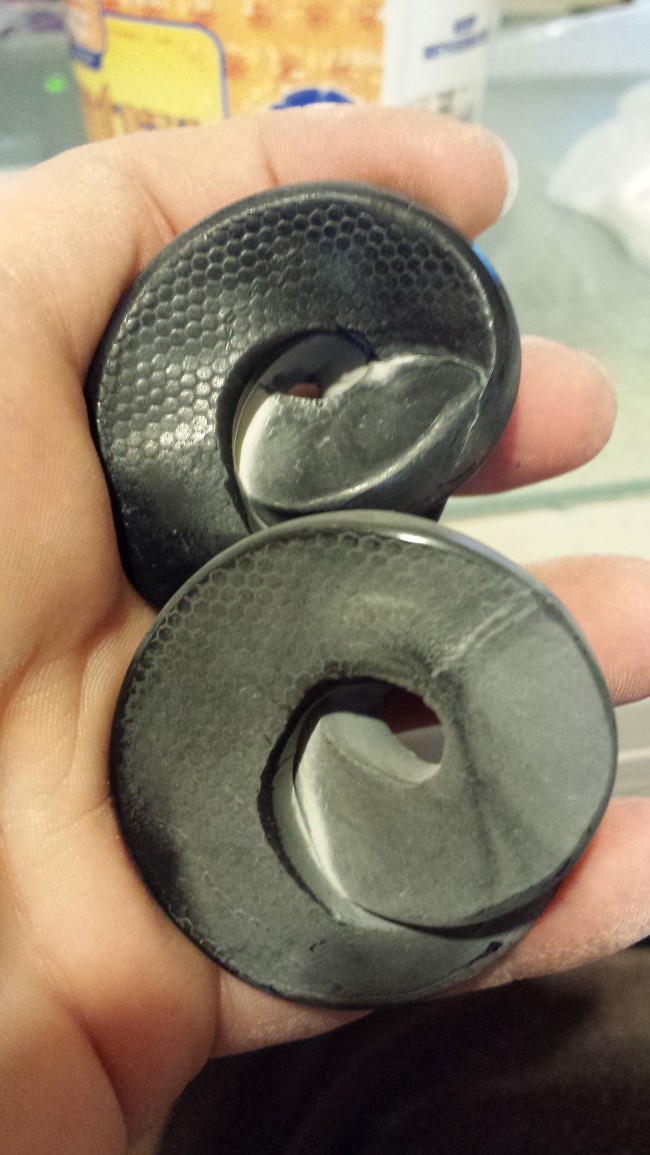
My idea on what to do? I decided that the two part epoxy glue I have is just the answer. I took my inserts made from Desire’s tutorial and placed them in the tumbler.

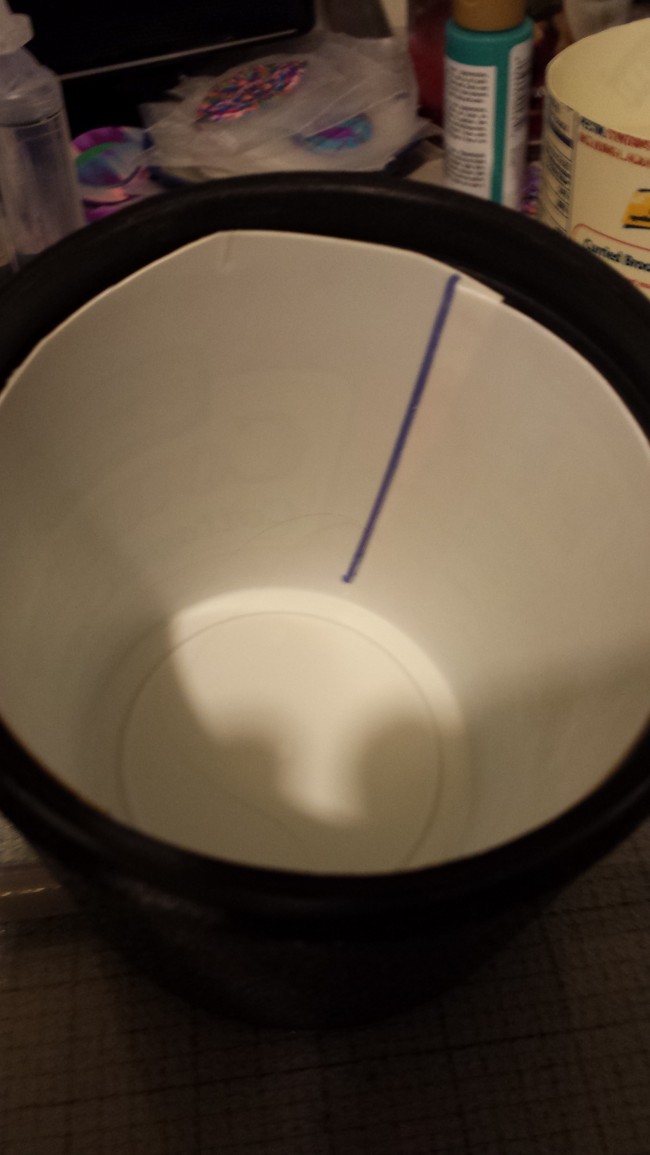
ImageI drew a line with a permanent marker where the two sides overlaped.

ImageI then added tape to the inside to hold the two pieces together and used my epoxy glue to adhere the two sides together from the outside.

ImageLet dry, remove the tape from the inside and do the same gluing from the inside now. My intention was to make the thing so that the outside would not discolor the beads on the inside.

Now I am not sure if all of this is necessary as I did a shout out to my Facebook Friends and  Ashley Hetler says she uses a tumbler and does not use a liner and gets no discoloration. I have no explination for why my beads discolored and hers do not other than the idea that maybe my tumbler is new and that is what is causing it. This post speaks to that issue.

http://www.hodgepodgerie.com/tumble-polishing.html

So in conclusion what is the answer? I have no clue I am just trying the best I can to tumble without ruining what I have spent so much time making! Each one of those bleeping black beads took me 25 minutes to make so I am going to try tumbling with sandpaper to see if I can save the beads. I will let you know how it turns out.


Wiii Wooo Heeee Hooo

June 26, 2013

Doing the happy dance.

Why you may ask? 

ImageIt is all because of this. I usually take this photo when I am going on vacation as they make me remove the chairs from my desk. This time it is because I have quit my full time 40 hour a week job and am now a full time artist.

It is crazy how things have changed so much in just a few days. I am so excited to share the journey with you all and I hope that you may find some inspiration or problem resolution with your art.

Its just crazy the things I am able to do now! Get ready for a fun fun ride.

Image

Get err done!

March 24, 2013

For some reason I keep loosing this post. I will give the pictures lets see I the story is there or gets lost. I am sick of retyping this cussing about where the bleeping post went to and starting again!
Grrrrr
notes
colors
pay him
extruder
resized
bring in the troops
gloves
my baby
done

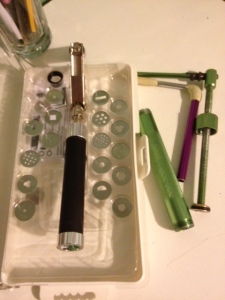
My attempt at sitting down to the clay table after being away for a long time. Paid son to extrude the discussions were funny, he ended up bringing in a friend because it was so hard. Friend quit not all clay was extruded we just kind of quit with hurt hands and all!
Not even sure if I want to use it or just quit. I do know two things well
1. Son will never extrude for me again If serious cash is not involved.
2. I need to figure out how to hook a drill up to the extruder.

Why do I have to do this stuff again?

Pandora Bead Swap Pics

March 4, 2013

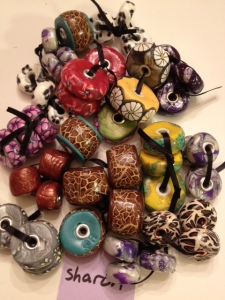
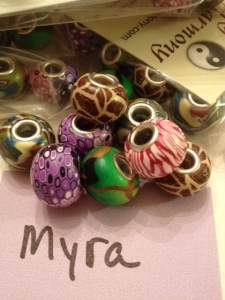
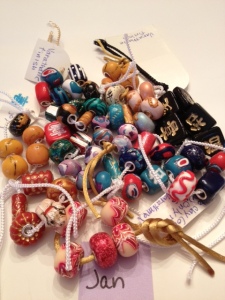
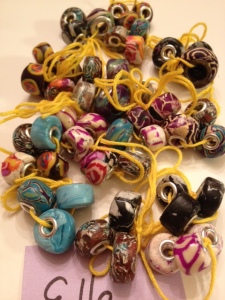
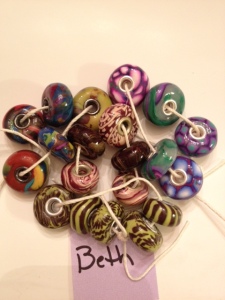
sharonMyramozellekayjuliejanellafredelaynedebbethastridashley

We finshed the Pandora swap and now have moved on to pens…..Enjoy the eye candy.


First Pandora Bead

January 24, 2013

photo

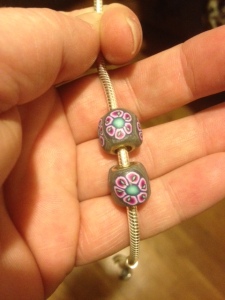
I can at least give you this my very first Pandora bead ever made on my new Pandora reward for quitting three weeks! These two were made last year when I got the blanks from Fire Mountain Gems.

Blog looks like it used to now I swear it looked different before it is not me getting old however I am quitting for the night.

WordPress I Love You But……..

January 24, 2013

This Saturday I quit smoking 1 month ago. One thing about the new me is I do not have patience.

I will admit it has been a month and a half since I lost posted but come on WordPress I do not have the patience to lean new now.

I was already here two weeks ago saw the change and did not have the patience to learn new then.

Today I decided I had to try and had a really long post with pictures that somehow went bye bye while trying to upload and now I do not have the patience to do again.

I wanted you to know I miss blogging and wanted to say heyyyyyyyyy and tell you all about new inspirations and thinking about being an artist, the process and most important the end result.

But this wil all have to wait while I go and learn new…….grrrrrrrr

Pandora Bead Swap

November 28, 2012

Well the swappers did it they decided that we would be making Pandora Style beads. If you would like to join in on the fun you do have to be a member of the Yahoo group City O Clay so come on over and join in on the fun. Due date is Feb 1st

Here are some inspirational links that were found by some of the members. Even if you do not join in on the swap see how easy it is to make a Pandora Style bead!


What exactly is a Pandora bead?

A Pandora bead is a bead that will fit on the Pandora style bracelet or necklace.

Here is a link that has almost every quesiton you could have about a Pandora style bracelet answered at your fingertips.

http://www.ehow.com/pandora-bracelets/


They typically are ___approx 4mm in diamater and made to fit on a Pandora style bracelet.

Below please find some links to Pandora type beads made from polymer clay.


a tutorial

http://www.arttradermag.com/how-to/pandora-style-bead-polymer-clay/


one with stripes

http://www.handmadeology.com/how-to-make-pandora-style-polymer-clay-stripped-beads/


http://libzoid.net/2009/05/27/quick-silver-cored-beads/


Cat Therian’s take on this

http://www.catherienarts.com/2010/01/11/pandora-troll-large-hole-style-memorial-beads/


http://www.flickr.com/photos/clayharmonyok/6416562355/in/photostream


And here is a whole bunch of videos for oyu to enjoy

http://video.search.yahoo.com/search/video?p=polymer+clay+pandora+bead+tutorial


From Astrid

How to’s

http://etsyrussianteam.blogspot.com/2011/09/diy-tutorial-pandora-style-polymer-clay.html

This is a tutorial that you can buy but the picture might give you an idea of how to make lampwork beads a-la pandora style 🙂
http://www.polymertutorials.com/tutorial-pandora-beads.html

One of my favorites! I am going to try to make some of these in dog and cat form 🙂
http://www.etsy.com/listing/73395876/australian-shepherd-pandora-polymer-clay

Some YouTube movies

In this one the camera moves a lot but it’ll give you an idea
http://www.youtube.com/watch?v=UcIg_3JcqS4

I really like this one and the clear instructions. Also the idea to use a toothpick first, then a skewer and then the core, because it will distort your bead less… Oh and she uses cane slices 🙂
http://www.youtube.com/watch?v=gv1wpfrr_qw

Italian video but she uses a flathead screwdriver to get the rest of the clay out of the hole AND I saw she is also using the grommets that one would use for fabric (with one of those special pliers that crimps them together)
http://www.youtube.com/watch?v=E-cCHDt5LCk&feature=related

Not a tutorial but it shows a lot of different style pandora beads
http://www.youtube.com/watch?v=UVPL-ldGpQM&feature=related


These are from Luny….Thanks Luny!


TUTORIALS
This Pandora bead tutorial doesn’t have the grommets but will still give you a good idea of things/designs you can do …
http://makeiteasycrafts.blogspot.com/2012/05/pandora-style-bracelet.html

“Chunky” Pandora bead tutorial
http://thepurplefroggieclaystuff.blogspot.com/2011/04/how-i-make-my-chunky-pandora-style-bead.html

A simple tutorial – it is in French but still easy to understand by looking at the photos …
http://loretcreations.canalblog.com/albums/trucs_et_tutos/photos/67227708-tutopp.html

FOR INSPIRATION…..
Please know that some of these are for sale but I am not affiliated with them in any way.

These are just pictures (images) of Pandora beads for ideas and inspiration. 
http://tiny.cc/z6a1nw
– or – 
http://www.bing.com/images/search?q=PANDORA+BEADS+%2b+POLYMER+CLAY&qpvt=PANDORA+BEADS+%2b+POLYMER+CLAY&FORM=IGRE

These are sterling silver Pandora beads but I thought I would share them as I sure got a few ideas while browsing through them.
http://www.rothroyale.com/sterling-silver.html?limit=all

YEA!

November 19, 2012

I am sure there is a quote almost like what I am going to say but I will get lost on the information highway looking for it so I am not going and will wing it on my own I want to blog.

If you depend on someone to help you do or change something they will never help you until it becomes inconvenient for them not to.

Case in point.

My computer has been giving me all kinds of warning signals saying there was low battery and no disk space for a while now. None no space how in the heck is that?? I cleaned all I could to free up space and asked son if he could as well. Still wasn’t enough to free up space so I had to decide what the next step was and today was the day to get that checked off my list. I have the dragon swap mailing in the next week and will need space on the computer to save the pictures EEEKKK.

I went to Best Buy and found an external drive that holds 1.5 tb. A tb is a terrabyte and that is equal to 1000GigaByte. Now that’s not what I went in there looking for I asked the guy to show me what my options were for clearing up some space on the computer. He showed me two items and after I asked what in the heck a terrabyte was it was decided by me that was a shitload of room and I would never have to worry again problem solved battery on order life is good!

When I get home and instruct #1 son to move his music to the drive so there is room on the computer and I can start bloggen again he asks what in the heck a terrabyte is Ha Ha. When it became inconvenient for him to have to use the external drive to add or listen to music suddenly 4 gigabytes magically appeared free on my computer and I am now sitting here blogging again AND will be able to take that terrabyte thing back to the store.

I missed it and really missed sharing my recent creation.

I hope to blog about the Zentangle creation soon and for me this one was a challenge. I know what went wrong so next time it can only get better. Here are the sides of a box before assembly to get an idea of how great it turned out. Enjoy the eye candy and get ready for the two sides of art retrospect as was soooooo true this time while creating.

Have a wonderful Thanksgiving!